Avatar, Whip It, and Adventures in Crocheting

This week is Spring Break and I decided to take Saturday off from worrying, assignments and studying.  We went off to the movies for the first time in two years.  The hubby had bugged me since it came out to go watch it but I wasn’t really interested.  After adjusting to the 3D glasses and the objects jutting out at me, I actually enjoyed it.  The special effects are amazing.  The experience is intense.  I did like the storyline.  Good guy goes to new world to obtain information for the future bad guy.  Good guy becomes absorbed into the new world (which is gorgeous).  Good guy falls for the girl but unintentionally betrays girl.  I would recommend going to see it in 3D!  It really does help the movie.  This comes from someone who generally doesn’t like things jumping out at her.

The other movie I watched at home was Whip It.  This was a feel good movie with a solid coming to age storyline.  Bliss, the main character, is searching for who she is.  Her mother pushes her into beauty pageants while she’d rather be wearing combat boots.  She begins to find herself with a group of very tough roller derby girls.  She discovers something she is great at and loves.  I borrowed this one but will have to pick it up.  I had to look up the local roller derby team here.  I wonder if I could take the beating!

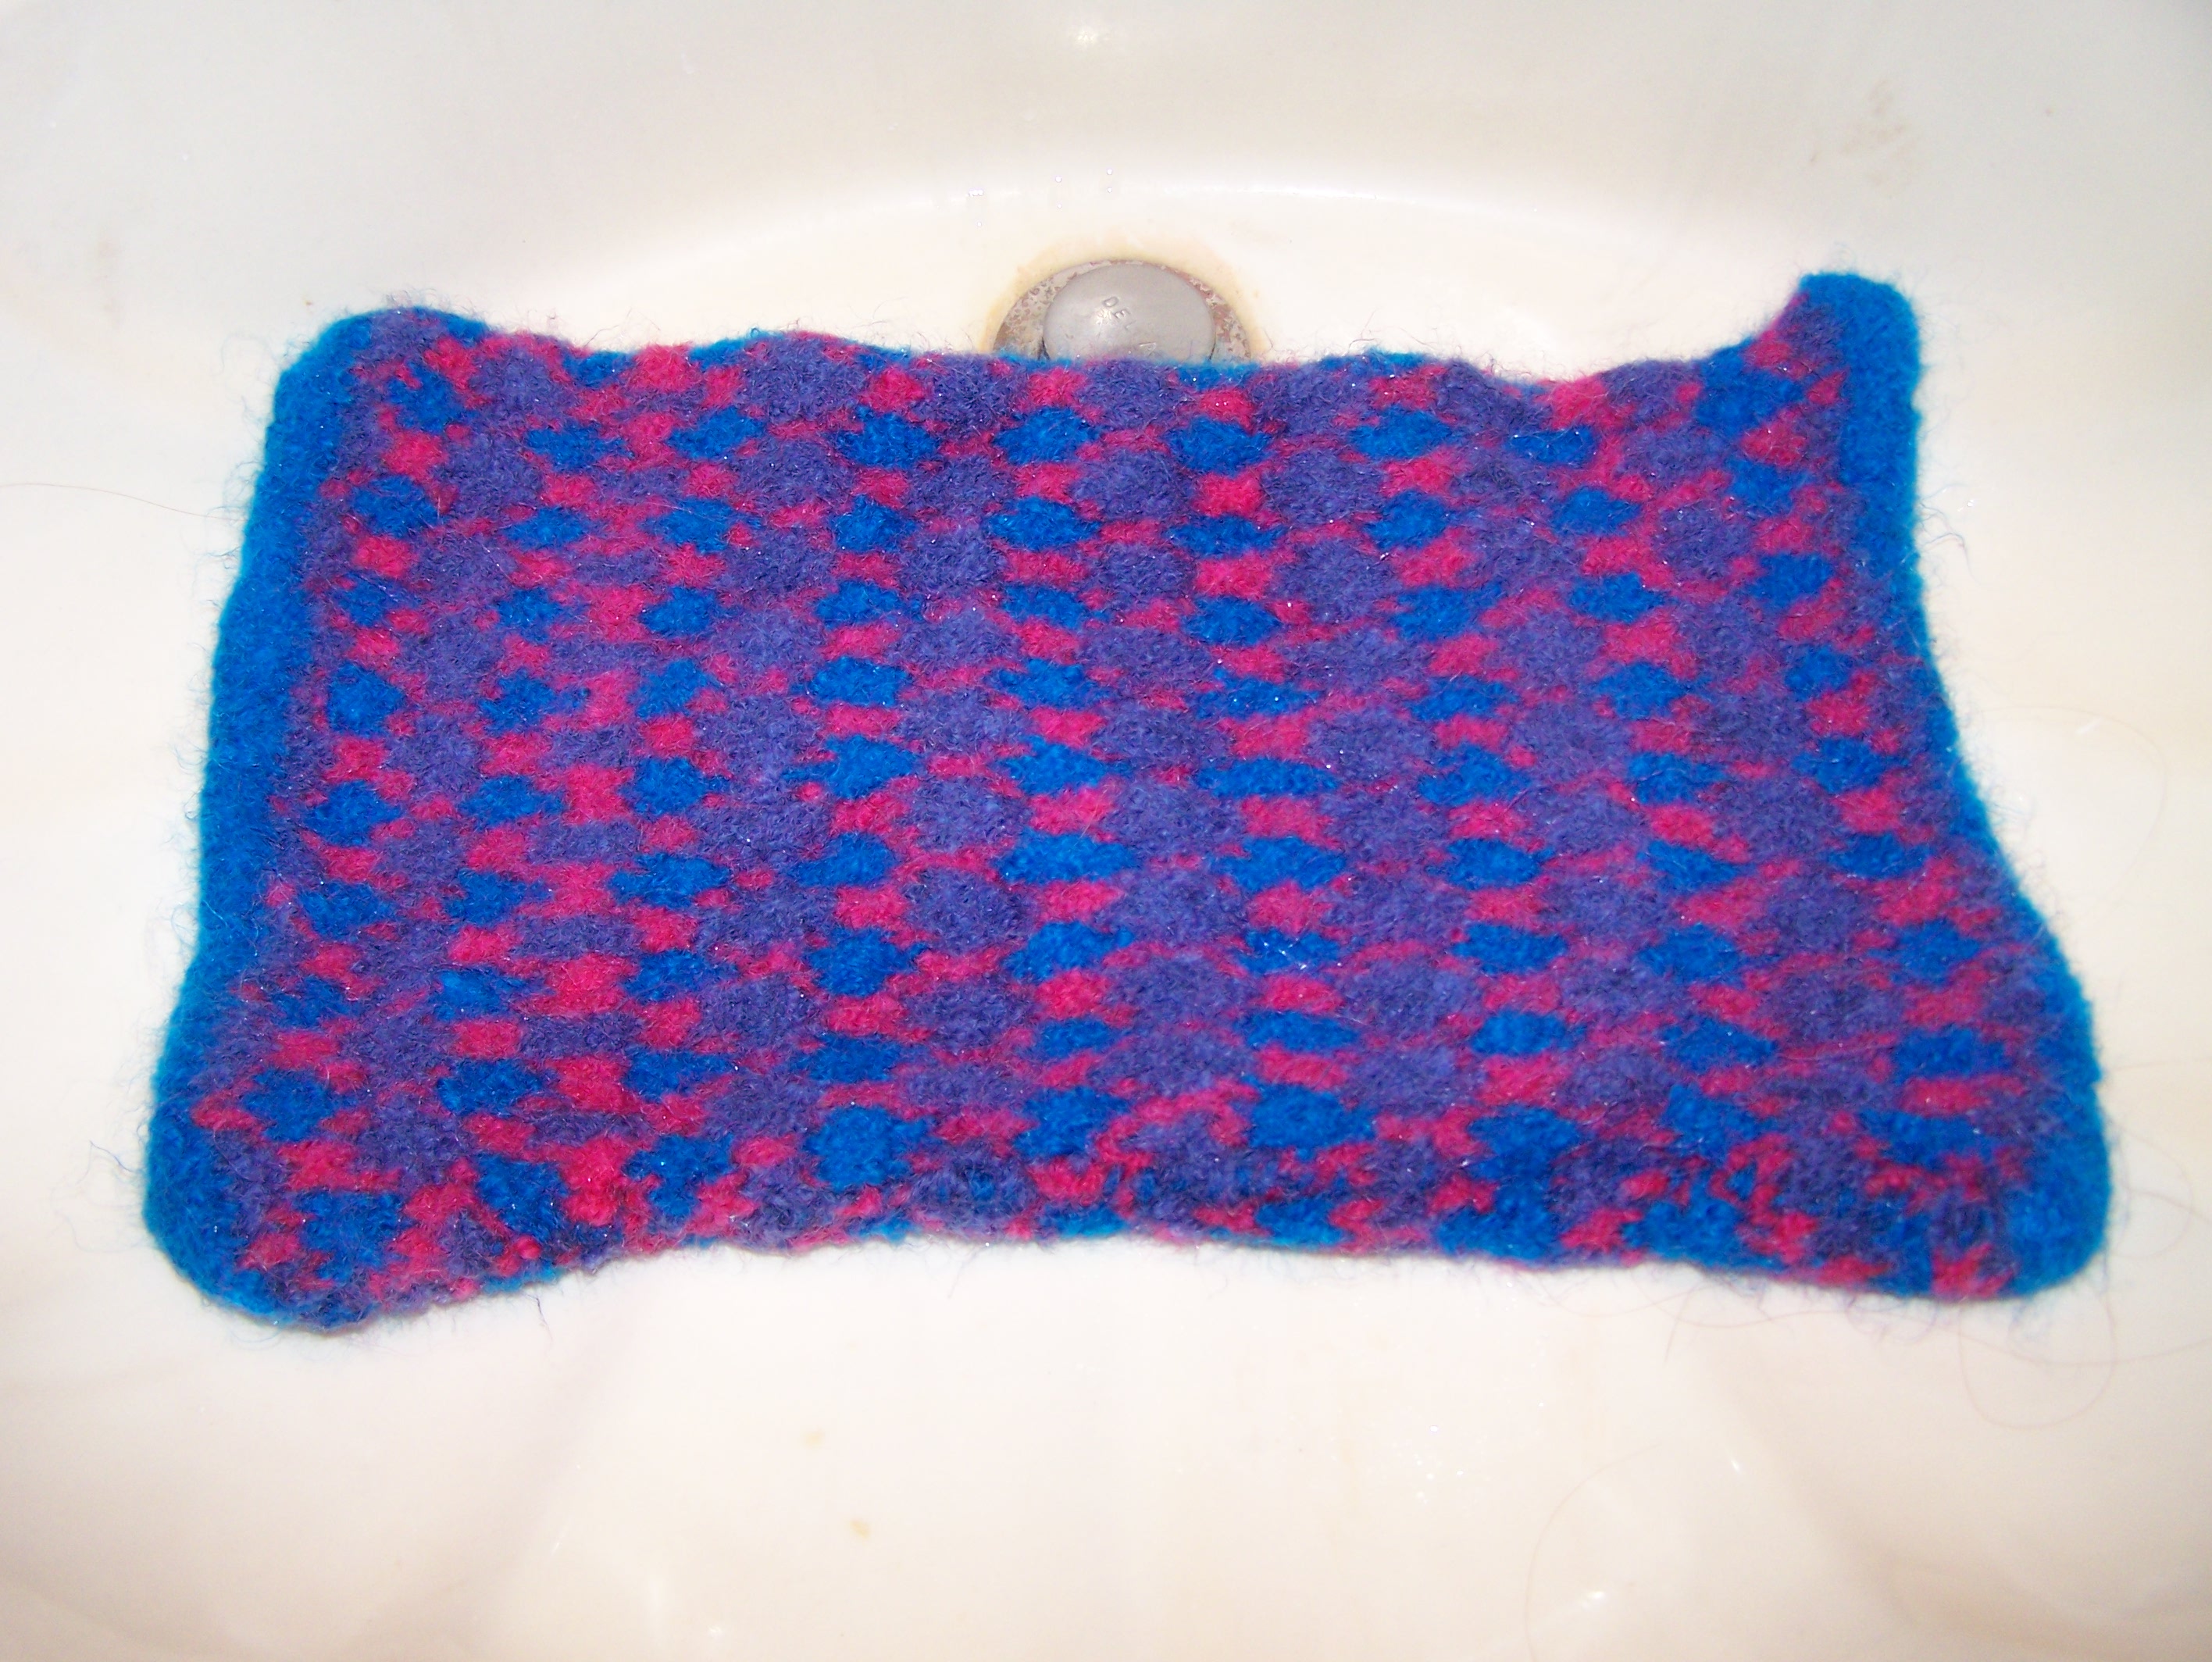
Finally, I did do some crocheting.  I did the chain and a few rows.  It did not look as good as it did in the book.  I think it is a lot harder than knitting.  I will continue to try to teach myself, but jumped over to a baby blanket project in some pretty pastels that seem to melt in my hands.

Felted Heating Pad 2010-01

We all have aches and pains and what a great way to soothe them than with a heating pad.  To create your own knitted or felted heating pad, begin with natural fiber.  Acrylics are likely to melt with heat.  If you are not sure how the material will react to heat, make a swatch and apply a hot pan to it.  If it melts/scorches, don’t use it.  If felting, use 100% wool.  Other materials will not felt as well.

For the heating pad above, choose three colors of 100% wool yarn.  I used Galway from Gabriella’s knit shop.  Gauge does not really matter because of the shrinkage, but the gauge in this case was 5 stitches x 4 rows = 1 inch with size 7 needles. 

Cast on 50 stitches.

With colors A,B,C

Row 1:  K2A, K1B, K2A, continue to end

Row 2: P1A, P1B, P1C, P1A, continue to end

Row 3: K1A, K3C, K1A, continue to end

Row 4: P1A, P3C, P1A, continue to end

Row 5: K1A, K1B, K1C, K1A, continue to end

Row 6: P2A, P1B, P2A, continue to end

Work these six rows until it measures about 14×9 inches.

Work another panel as you did above.

Sew these two with right sides together leaving a small section 2-3 inch section open.

Turn so that right side is facing out.

Throw it in a pillowcase rubberbanded closed or zippered shut.  Place in washer machine to felt.  To felt, put washer machine on lowest water setting with highest heat setting and use a pair of jeans or tennis balls to help with agitation.  Put  longest cycle and check regularly.  Finished project should be about 11×7 inches, unless otherwise desired.  If necessary, let machine cycle again- do not let it go into rinse cycle.  Take felted project out, rinse manually, and allow to completely dry.  (See my entry on felting https://knitwerks.com/2010/02/20/felting/.

Fill with buckwheat husks (better at maintaining heat), rice, or beans.  Sew up the small hole and toss in microwave.  Relax.

Felting

Before - Felting
After - Felting

Materials: 100% wool, pillow case, rubber band, top loading washer machine, hot water   

  • First pick out a 100% wool yarn.  Make sure it is not superwash.  You can check the label.  It should say whether it is feltable.  If you are not sure, make a swatch to felt beforehand to double-check.
  • Create a swatch to test how much it will shrink.  

(It is a great way to determine how big to make your item, but I’m lazy and never do this).  

  • Put your project into a pillow case and close with a rubber band.  This will protect your washer machine from the fuzzies that come off. 
  • Set the washer machine to the lowest water setting and set to highest temperature and longest possible cycle. 
  • Some instructions tell you to add detergent.  I find that there is enough residue in the washer that no more detergent is necessary.
  • Place project in pillow case into washer machine.  (Fuzz comes off the project during the cycle and can damage your machine if not placed in protective case.) Check project often.  I usually check after twenty minutes and then every ten minutes there after.  Do not let the washer enter the rinse cycle.  If project is ‘felted’ enough, restart agitation cycle again and keep checking!  You’ll be surprised how quickly those slippers can turn into doll’s clothes!
  • When your project is the right size, take it out of the washer and rinse the detergent residue off. 
  • Place somewhere to dry.  If you want a specific shape (like a big square purse) wrap a box or something related to the shape in a plastic bag and place in your item.  As it dries, your project will hold that shape.
  • Enjoy

Misti Alpaca Socks

Misti Alpaca Socks

The Sunday after Christmas, a few members of my family and I went into Manhattan to see a few sites and of course- to visit a knit shop!  After seeing Rockefeller Center and FAO Schwartz, we headed down to 79th Street to visit Knitty City.  The shop was cute.  It was a long narrow without a lot of space, as all places in Manhattan are short on space, but there were still comfortable niches to hang out in.  My mother bought me a skein of Misti Alpaca hand painted sock yarn.  I had plans of designing a shawl from it and it would be the best thing ever.  I started and frogged repeatedly until I finally relented and went to the website.  I knitted a pair of socks off their basic pattern, and they are the most comfortable socks I have ever worn.  The last few days have been so cold in the new office, I’ve now taken to wearing these.  They truly are better than slippers.

Knit Therapy

There is a reason that I latched onto knitting so long ago.  Knitting and crocheting are great for stress relief and depression.  The repetitive motion is soothing.  It is like watching tv with white noise.  The mind blanks out.  The world, its stresses, the rambling unending thoughts dissipate.  It’s an escape- even if temporary.  It’s also great because you are creating something and can find fulfillment in that.  It is also cheaper than therapy, unless of course you love really expensive yarn.  Think productive meditation!

I also knit in the car to keep my eyes off the road while my hubby is driving.  I think it helps our marriage in many ways- especially to keep me from backseat driving.  Well, most of the time it does.  It’s a portable hobby and still becoming more trendy.  It is even easier to learn in the age of YouTube and the internet.  Anything you’ve ever wanted to know is at your fingertips.

Kindle

I am having trouble with the kindle set up and am currently waiting on a response from Amazon.

I am so excited. I discovered that anyone can publish their blog to Kindle very easily. I probably shouldn’t advertise this fact now that I will have competition- but I’m too excited to care. I’m going through a rough patch now and any good news is great news for me. Deep down, I am an author at heart. I may not have a best-selling novel as I had planned since I was little, but my words are my soul. I can write a thousand times better than I speak.
Here I am, a blogger. Is a blogger a writer? Is a blogger an author? I don’t think that is for me to answer. I have won minor awards and even have been paid from contests, but does that make me an author. In a digital age, I believe the definition will ultimately change. According to Merriam-Webster online an author is one that originates or creates OR the writer of a literary work (as a book). Ok, I’m an author. A broke author. Thanks to my chef/husband I’m not starving.
I already subscribe to two blogs on my original kindle and am not sure if they will let me subscribe to my own free. I love regular old-fashioned paper books and my walk in closet is filled with books instead of clothing. What I love about the Kindle is that I can get things that I don’t want to wait for. With my piteous salary I cannot afford to spend $25 on a book. I can’t really afford $10. I use the library and farmer’s markets to keep me supplied. My mother gave me a gift card to Amazon.com for Christmas and I read all four twilight novels in under two weeks. I can read blogs, magazines, newspapers, and samples. Did I mention I love samples? What a fantastic idea? It’s like sitting in a book store flipping through the first chapter except I’m in the car, or on my lunch break and I get to read a few pages or even chapters for FREE. I love FREE.
In the meantime, I’m working on the novel my mother originally downloaded, Family Tree by Barbara Delinsky. I love that it incorporates knitting into it. I’m a few chapters in and I like it. It’s beginning to captivate me finally. I recommend to go beyond the sample for this book. The first few pages did not grab me but now I’m getting into it.
It’s time for bed. Happy writing, reading, knitting and imagining!

Easy Ribbed Kindle Case

Last year, my mother used her Amazon credits to buy the original Kindle.  I went to visit her in June and she gave it to me.  She had trouble figuring it out and decided she’d rather read her traditional books.  Lucky me, I get to play with it now.  I’ve pretty much fallen in love with it, and take care not to damage it.  I’ve been using the black leather case, but I’d rather have something less bulky.

I decided to knit a case!  Surprise!  I pulled out some colorful old yarn, Caron Simply Soft Embroidery Print.  This yarn is slightly thicker than the regular Caron Simply Soft Yarn.  I love the bright colors and have made some eye catching cat toys out of it.

The pattern below is for the original Kindle.  The Kindle dx is slightly smaller and the nine inch version is larger.  Please adjust per size of device.

Gauge 7 stitches = 1 inch /5 rows = 1 inch on size seven needles.

Hold aside about 3 feet of yarn for button hole.  Button used is slightly over 1 inch in diameter. 

Cast on 24 stitches (or in multiples of 4)

Row 1: K2P2, continue to end.

Row 2: K2P2, continue to end

Do this for 20 inches.

Creating the Button Hole:

K2P2 for 12 stitches (1/2 the width of case).  Continue rib for 12 stitches with 3 feet of yarn placed aside earlier.  Turn work and rib for 12 stitches with short yarn.  Continue with row using the orginal yarn. Do this until hole is about 1 inch in size.  The hole should not be larger than the button used.  Once the hole is the appropriate size, continue rib pattern for full row using original length of yarn. 

Continue rib pattern for an additional 2 inches.  Bind off.

Fold 8 inches of the material in on itself and sew the seams together.  You should have approximately 6 inches to ‘fold over’ the case with the button hole in place.  Flip the case inside out so that the seam binding is on the inside.  Sew the button onto the front panel about 3 1/2 inches from the top.  Check your button hole location before adding button. 

Insert Kindle and have fun!!!

Merry Christmas

To all who knit, crochet, or simply peruse, Merry Christmas. May your stockings be filled with needles and knickknacks and your yarn plush. May projects be plentiful and the ideas unending. May your family be warm with fuzzy, soft, colorful accessories. Merry Christmas to all and to all a good knit!

Triple Cabled Scarf


Sorry I haven’t been around lately.  After the wedding, the visitors, the honeymoon and the job stress, I wound up taking a small hiatus from knitting.  I made some Christmas ornaments for family members.  Now, I’m preparing to go back to NY for Christmas and while they enjoy their snowstorm, I know I am going to freeze.  Living in Southwest Florida has been a blessing for me, but has spoiled me to cold weather.  I used a pattern from ravelry to make a floppy beret to keep my head warm and wanted to make a scarf that would go.

This is my Triple Cabled Scarf made with Plymouth Alpaca Prima yarn double strandled with size 10 straight needles.  I am in love with this scarf!  The yarn had been in my collection for well over a year, waiting for the perfect project.  Thank you Gabriella’s Yarn Shop  for this!  She no longer has this in stock, but she has many many great yarns.

Cabled Gauge 18 stitches x 4 in  /      4 rows x 1 in

C4F = hold 2 stitches to front with cable needle.  Knit 2 from left needle, then knit 2 from cable needle to create left twisting 4 stitch cable.

Cast on 24 stitches on size 10 needles

Knit first 4 rows in seed stitch (k1p1k1 to end)

Row 5 – k1 p1 k1 p2 k4 p1 k4 p1 k4 p2 k1 p1 k1

Row 6 – k1 p1 k1 k2 p4 k1 p4 k1 p4 k2 k1 p1 k1

Row 7 – k1 p1 k1 p2 c4f p1 c4f p1 c4f p1 k1 p1 k1

Row 8 – repeat row 6

Repeat rows 5-8 until you’ve reached desired length,

End with 4 rows of seed stitch, k1

Organization, Projects, and More

Trying to organize.  This is what taking up knitting really means!
Trying to organize. This is what taking up knitting really means!

I was wandering through ravelry and the many groups that I have joined there when I stumbled upon Gabriella’s post. She wants to donate at least 50 scarves to the Abused Women’s Shelter here in Naples by Christmas. My mind immediately started rumbling through ideas. I have a stash of many scarves that I’ve finished with fun fur and similar materials that I’ve tried to sell before. I made some mad money last year with these fuzzy scarves but I have plenty of extras. I also have a tremendous stash that has overtaken my bedroom. I have yarn in tubs, under the bed, in dresser drawers and even in the walk in closet. If you think that’s bad- half my closet is books instead of clothes.
I pulled everything into the livingroom so I would have no choice but to go through everything and organize it. I put my needles away and even found a helpful tip online to organize circular needles. I put them in clear binder slots that would normally hold my patterns and other important papers. I have them in order from size 0-15. I went through yarn, winding and untangling. I now am the proud owner of an organized mess. I have to destash and what better way then by helping others.
I also love that I can make scarves because I can create new designs. I am brainstorming on what might work and still look good. I just wish that I was giving these to people who’d appreciate the warmth of a good scarf. We live in Southwest Florida and a scarf is rarely needed here.
I haven’t spoken to Gabriella yet but I do know that she is setting up kits for the project. She is merely looking for people to volunteer their time and energy. If you are interested in helping, Gabriella’s contact information can be found on her website http://ready2knit.com. I will try to keep everyone updated in the meantime.

Wedding Garter

Wedding Garter

I wanted a couple of special knit accents to my wedding ensemble, seeing as I am a bit of a knitting nut!  If I had more time, I am sure Iwould have knit my own wedding dress, but with less than three months for an engagement, I just was not prepared to rush a design and dress out- especially for a beach wedding.  Instead, I’ve made a beaded scarf and now I have finished the garter.  It is a bit different from the traditional garters that I have seen, but I think that it will be treasured. 

I used Aslan Trends Class Yarn, which is a sport weight yarn as the main part of the garter.  For the blue edge, I used a lace weight yarn that I had bought years ago and never found a use for.  Any lace, light sport weight yarn should do.  The ribbon is 1/8 inch wide.  I knit the ribbed section with white elastic held together with the aslan yarn.  Also,I recommend using a stitch marker to keep track of where the row begins.

The gauge is 14 stitches = 4 inches wide, 8 rows = 1 inch for the ribbing with size four circular needle 16 inches long.

Cast on 70 stitches. 

Row 1: Join without twisting stitches, K5,P2, Continue to end.

Row 2: K5, P2 holding yarn and elastic together.

Continue for 6 more rows, end using elastic in row 8.

Row 9: K1, Yarn Over, continue to end (140 stitches)

Row 10: K2, Yarn Over, continue to end (210 stitches)

Row 11: Knit

Row 12: K2together 3 times, K1 Yarn over 6 times, repeat to end.

Row 13: Knit

Row 14: Knit

Row 15: Bind off using blue or other colored lace/light sport weight yarn.

Lace ribbon into the wholes that were created in Row 9.  Tie the ribbon to hold the garter up on the leg.

wedding garter

garter

Quick Knit Easy Tie Scarf

The Finished Scarf
The Finished Scarf

This is a quick project that is easy for beginners as well. You can make a fuzzy scarf like this from many materials such as fun fur, but I prefer Paton’s Cha Cha. For a thicker scarf, use two balls of yarn held together.

For this scarf:
1 ball Paton’s Cha Cha
10 1/2 needles (6.5mm)
Gauge: 5 stitches equals 1 inch
Cast on 15 stitches
Row 1: K1, P1, continue to end
Row 2: K1, P1, continue to end
Continue until scarf is about 24 inches in length.

Then:
K1,P1 5 times- you should have 5 stitches remaining on right needle.
Turn and P1,K1,P1,K1,P1
Turn and P1,K1,P1,K1 P1
Continue until this mid section is about 1 inch long

Joining the middle
Joining the middle

Rejoin middle to the rest of the scarf:
Continue rest of row: K1, P1, K1, P1, K1
Next Row: K1, P1, continue to end
Continue for about 4 more inches or to the length you desire.

Feather and Fan Baby Blanket

I finished a simple baby blanket for my 7 month pregnant co-worker. I was feeling quite lazy after my last few projects and picked the thickest yarn I could find for this. This is made out of James C Brett Marble Chunky (bulky 12 ply yarn), knit up on size 15 needles. The gauge is 12 stitches, 12 rows equals 4 inches by 4 inches.
This is a very simple feather and fan pattern.
Cast on 91 stitches (or in multiples of 18 +1)

Row 1: Knit
Row 2: Purl
Row 3 Knit 1, *Knit 2 together three times, Knit 1 Yarn Over 6 times, Knit 2 together three times Repeat from * to end.
Row 4: Knit
Repeat these four rows. It should be about 40 inches wide by 30 inches long. This is a great size for a baby blanket for a bassinett or over a car seat. However, it is a versatile pattern that can be made smaller bigger, wider, longer. I love how simple it is and how fast the project goes.Feather and Fan Baby Blanket

Finished the Beaded Wedding Scarf

The picture does not do it justice!

I finally finished it. It did not take as long as I thought it would, but of course I was overly eager to get it done. The pattern is fairly simple. I used 4 skeins of Lana Grossa Secondo in white (200 grams). I also used 4 containers (about 100) clear beads from Jo-Ann Fabric. They are 2/0 Czech Glass E-Beads from Beader’s Paradise.
This is my first pattern, so please bare with me.

String approximately 50 beads on. Cast on 78 stitches with size 6 needles.  Gauge is approximately 6 stitches, 4 rows per inch but it is a stretchy yarn and pattern, so gauge is not necessary.
Row 1 – Purl 1, add one bead, Knit 4, Purl 1, add one bead, Repeat- continue to last stitch, add one Bead, Purl 1
Row 2 – Knit 1, Purl 4, Knit 1, Repeat till end.
Row 3 – Purl1, Knit 4, Purl 1, Repeat till end
Row 4- Repeat row 2
Continue this until you run out of beads, then continue without beads. When you get to the fourth skein, string the remaining beads (approximately 50). Repeat the four rows until you run out beads. Scarf should be about 20 inches wide when stretched out and 60 inches long.