2010-05 Felted Striped Bag

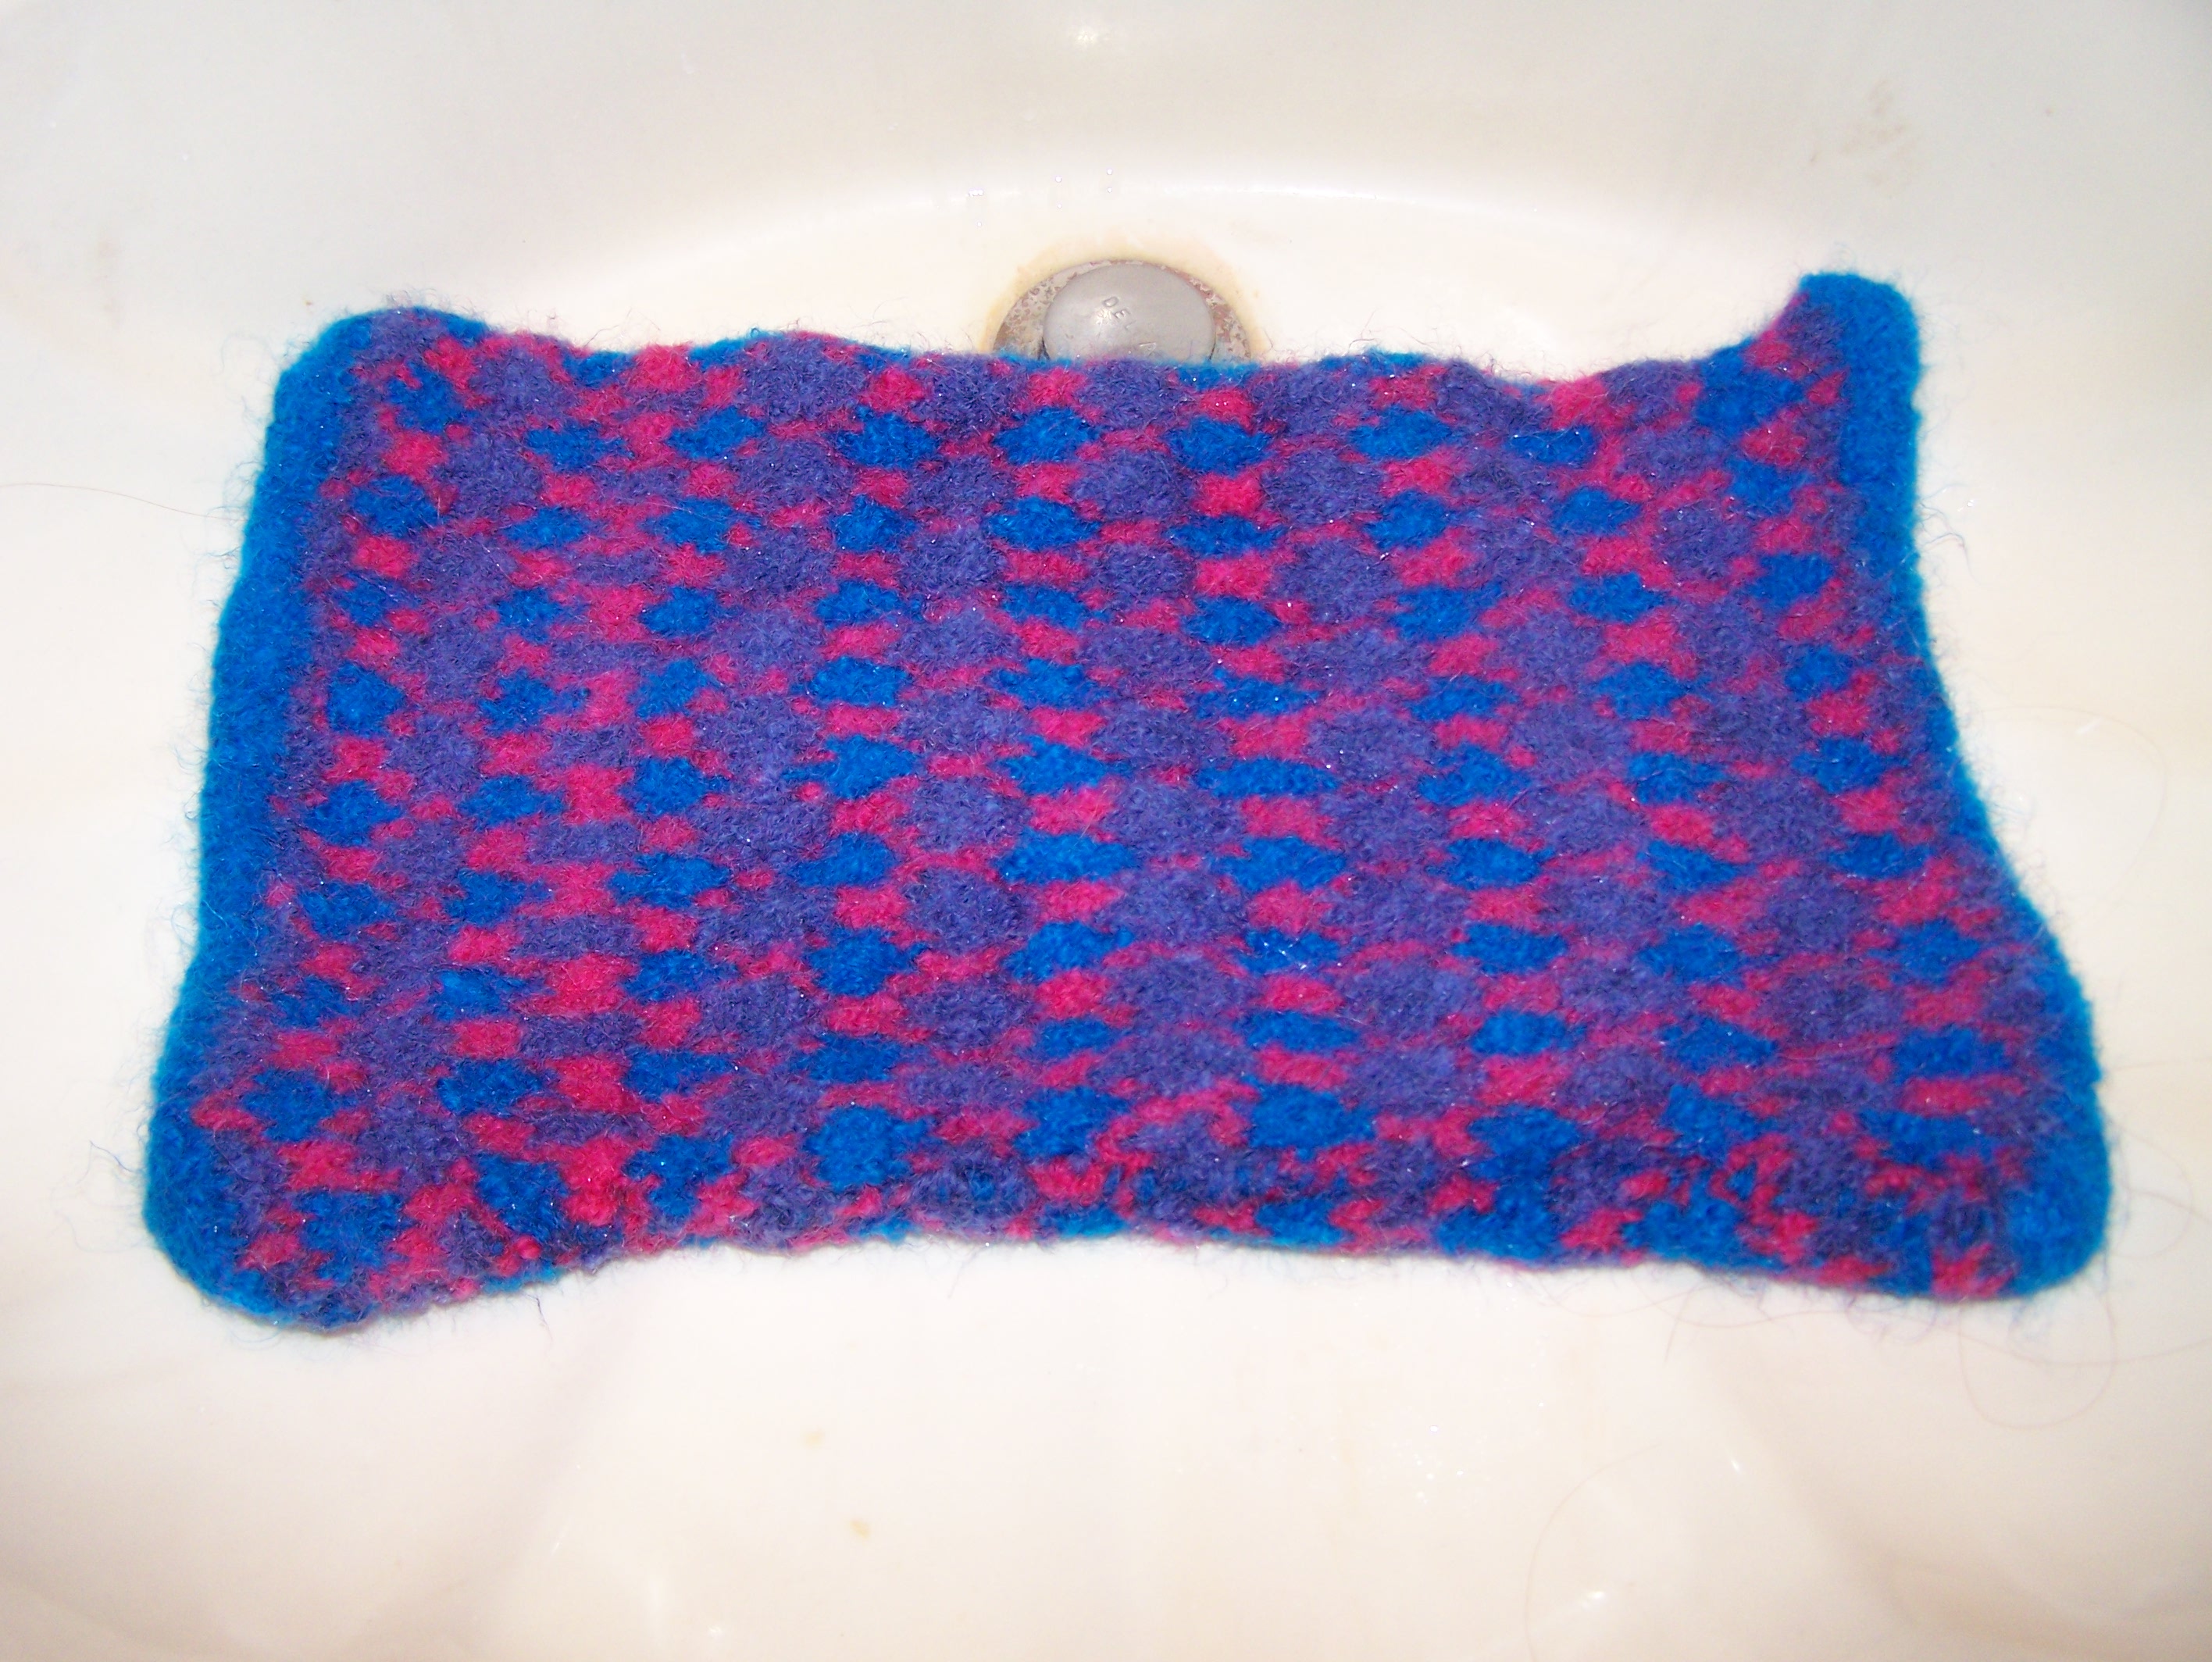
I made my mother a felted blue bag about a year ago and loved it so much that I finally got around to making myself one. I have a lot of bags, but don’t have anything in brown. So, I picked out different shades of brown Galway yarn from Gabriella’s yarn shop in Naples.  For more about felting, please see my post: https://knitwerks.com/2010/02/20/felting/

2 skeins color A Galway Worsted (a little over 1 full skein)

1 skein color B Galway Worsted

1 skein color C Galway Worsted

1 size 9 circular needle

Base of Bag

With size 9 needles, cast on 54 stitches in color A

Row 1 Slip 1st Stitch, Knit

Row 2 Slip 1st Stitch, Purl

Complete 30 more rows

Bag itself:

Side 1 K54

Side 2 pick up 15 using slipped stitches

side 3 pick up 54

side 4 pick up15 using slipped stitches

K10 rows color A

K5 rows color B

K3 rows color C

K5 rows color B

Repeat above 3 times

K5 rows color A

Bind off

Handles:

Create 2 38 inch 6 stitch icords alternating between the 3 colors.

Cord: Create a 15 inch 3 stitch icord with color C.

Throw bag, handles and cord in a pillowcase. Tie or zipper it closed and felt in washing machine with hot water and a pair of jeans (see felting instructions page). Check often and pull out when at desired dementions. Mine took one agitation cycle. You may need more than one, but make sure you check before rinse cycle begins. Place over box to dry so that felt bag keeps that shape.

Fold sides in and poke holes in side of bag and make a knot in each handle on the inside edge of the bag. Poke holes in center of one side of bag and insert cord, tying ends together on the inside of the bag. Sew a large button to the other side of the bag and use cord loop to keep bag closed. See below pictures.

Wear and enjoy.

Felted Heating Pad 2010-01

We all have aches and pains and what a great way to soothe them than with a heating pad.  To create your own knitted or felted heating pad, begin with natural fiber.  Acrylics are likely to melt with heat.  If you are not sure how the material will react to heat, make a swatch and apply a hot pan to it.  If it melts/scorches, don’t use it.  If felting, use 100% wool.  Other materials will not felt as well.

For the heating pad above, choose three colors of 100% wool yarn.  I used Galway from Gabriella’s knit shop.  Gauge does not really matter because of the shrinkage, but the gauge in this case was 5 stitches x 4 rows = 1 inch with size 7 needles. 

Cast on 50 stitches.

With colors A,B,C

Row 1:  K2A, K1B, K2A, continue to end

Row 2: P1A, P1B, P1C, P1A, continue to end

Row 3: K1A, K3C, K1A, continue to end

Row 4: P1A, P3C, P1A, continue to end

Row 5: K1A, K1B, K1C, K1A, continue to end

Row 6: P2A, P1B, P2A, continue to end

Work these six rows until it measures about 14×9 inches.

Work another panel as you did above.

Sew these two with right sides together leaving a small section 2-3 inch section open.

Turn so that right side is facing out.

Throw it in a pillowcase rubberbanded closed or zippered shut.  Place in washer machine to felt.  To felt, put washer machine on lowest water setting with highest heat setting and use a pair of jeans or tennis balls to help with agitation.  Put  longest cycle and check regularly.  Finished project should be about 11×7 inches, unless otherwise desired.  If necessary, let machine cycle again- do not let it go into rinse cycle.  Take felted project out, rinse manually, and allow to completely dry.  (See my entry on felting https://knitwerks.com/2010/02/20/felting/.

Fill with buckwheat husks (better at maintaining heat), rice, or beans.  Sew up the small hole and toss in microwave.  Relax.

Felting

Before - Felting
After - Felting

Materials: 100% wool, pillow case, rubber band, top loading washer machine, hot water   

  • First pick out a 100% wool yarn.  Make sure it is not superwash.  You can check the label.  It should say whether it is feltable.  If you are not sure, make a swatch to felt beforehand to double-check.
  • Create a swatch to test how much it will shrink.  

(It is a great way to determine how big to make your item, but I’m lazy and never do this).  

  • Put your project into a pillow case and close with a rubber band.  This will protect your washer machine from the fuzzies that come off. 
  • Set the washer machine to the lowest water setting and set to highest temperature and longest possible cycle. 
  • Some instructions tell you to add detergent.  I find that there is enough residue in the washer that no more detergent is necessary.
  • Place project in pillow case into washer machine.  (Fuzz comes off the project during the cycle and can damage your machine if not placed in protective case.) Check project often.  I usually check after twenty minutes and then every ten minutes there after.  Do not let the washer enter the rinse cycle.  If project is ‘felted’ enough, restart agitation cycle again and keep checking!  You’ll be surprised how quickly those slippers can turn into doll’s clothes!
  • When your project is the right size, take it out of the washer and rinse the detergent residue off. 
  • Place somewhere to dry.  If you want a specific shape (like a big square purse) wrap a box or something related to the shape in a plastic bag and place in your item.  As it dries, your project will hold that shape.
  • Enjoy