Knitpicks Wool of the Andes superwash and the next blanket

In case you haven’t figured it out, I spend quite a bit of time knitting blankets. Big blankets, small blankets, they are familiar and useful here in South Florida. I want to knit my kids things and they’d fry in wool sweaters.

I knit the last few blankets in inexpensive acrylic yarn and I’m not happy with the quality or the outcome. My cables in the pink blanket look terrible.

I purchased 11 skeins of Knitpicks wool of the Andes superwash – which will be not even close to enough yarn 😭. Nobody tell the husband what that actually costs. I usually use a seed stitch or blocks but I really like this pattern on Ravelry for the Maxi Cosi Blanket. It’s a simple pattern which I find easier with big blankets.

So far it’s easy and looks great.

https://www.knitpicks.com

https://www.ravelry.com/patterns/library/maxi-cosi-blanket

Spin, Dye, Knit

My Ashland Bay Blue Face Leicester Top BFL Undyed Spinning Fiber arrived from Paradise Fibers and I had one goal for this weekend. As I mentioned last week, I’ve been keenly interested in Navajo plying. I sat down Friday night, finished a bobbin of one ply yarn for the above wool. It was so easy to work with. I’m actually having to overtwist it so it doesn’t unravel on me. Then I took it off and started navajo plying. I have a few issues with this technique. 1- Starting it is difficult. I kept loosing it when trying to get it to take on the bobbin. Finally I made a knot onto the starter yarn. 2- I’m getting a lumpy yarn. I think when I’m plying, I’m loosening the fibers and creating bumps. 3-Breaking. As I was plying, it kept breaking. The finished yarn came out unbalanced and different widths but I decided to dye it anyway.


This is my first time dyeing. I used the instructions on the knitty page. http://knitty.com/ISSUEspring07/FEATdyeyourown.html

I read this over and over and over. First I soaked the yarn overnight in 1/3 cup of vinegar. Then, I woke up early and put the yarn in the crock pot with 1/2 cup of vinegar and just enough water to cover the yarn. I wish I had put less water in. After a little over an hour, I mixed my dyes with hot water and began covering the yarn. I was really going for a blue and orange yarn with spots of green, but the colors muddled a bit. This is really a clean process though. I had no spills or stains. I added more dye, not liking that the colors were so light. I believe this is why I got the muddled colors. By the end, there was too much water in the crock pot.

I used tongs to pull the yarn out and hung it first on my kitchen faucet over the sink. Once it cooled off, I rinsed it, and hung it outside to dry. I was a little impatient. I didn’t even wait for it to dry 100% before winding it on the homemade nostepinne. Okay, it was a size 15 straight needle. I think I did a great job for the first time using a nostepinne (Knitting needle!)

So below is half of the final product. The colors weren’t what I was trying for, but all in all, I think it worked out very well.

Felted Heating Pad 2010-01

We all have aches and pains and what a great way to soothe them than with a heating pad.  To create your own knitted or felted heating pad, begin with natural fiber.  Acrylics are likely to melt with heat.  If you are not sure how the material will react to heat, make a swatch and apply a hot pan to it.  If it melts/scorches, don’t use it.  If felting, use 100% wool.  Other materials will not felt as well.

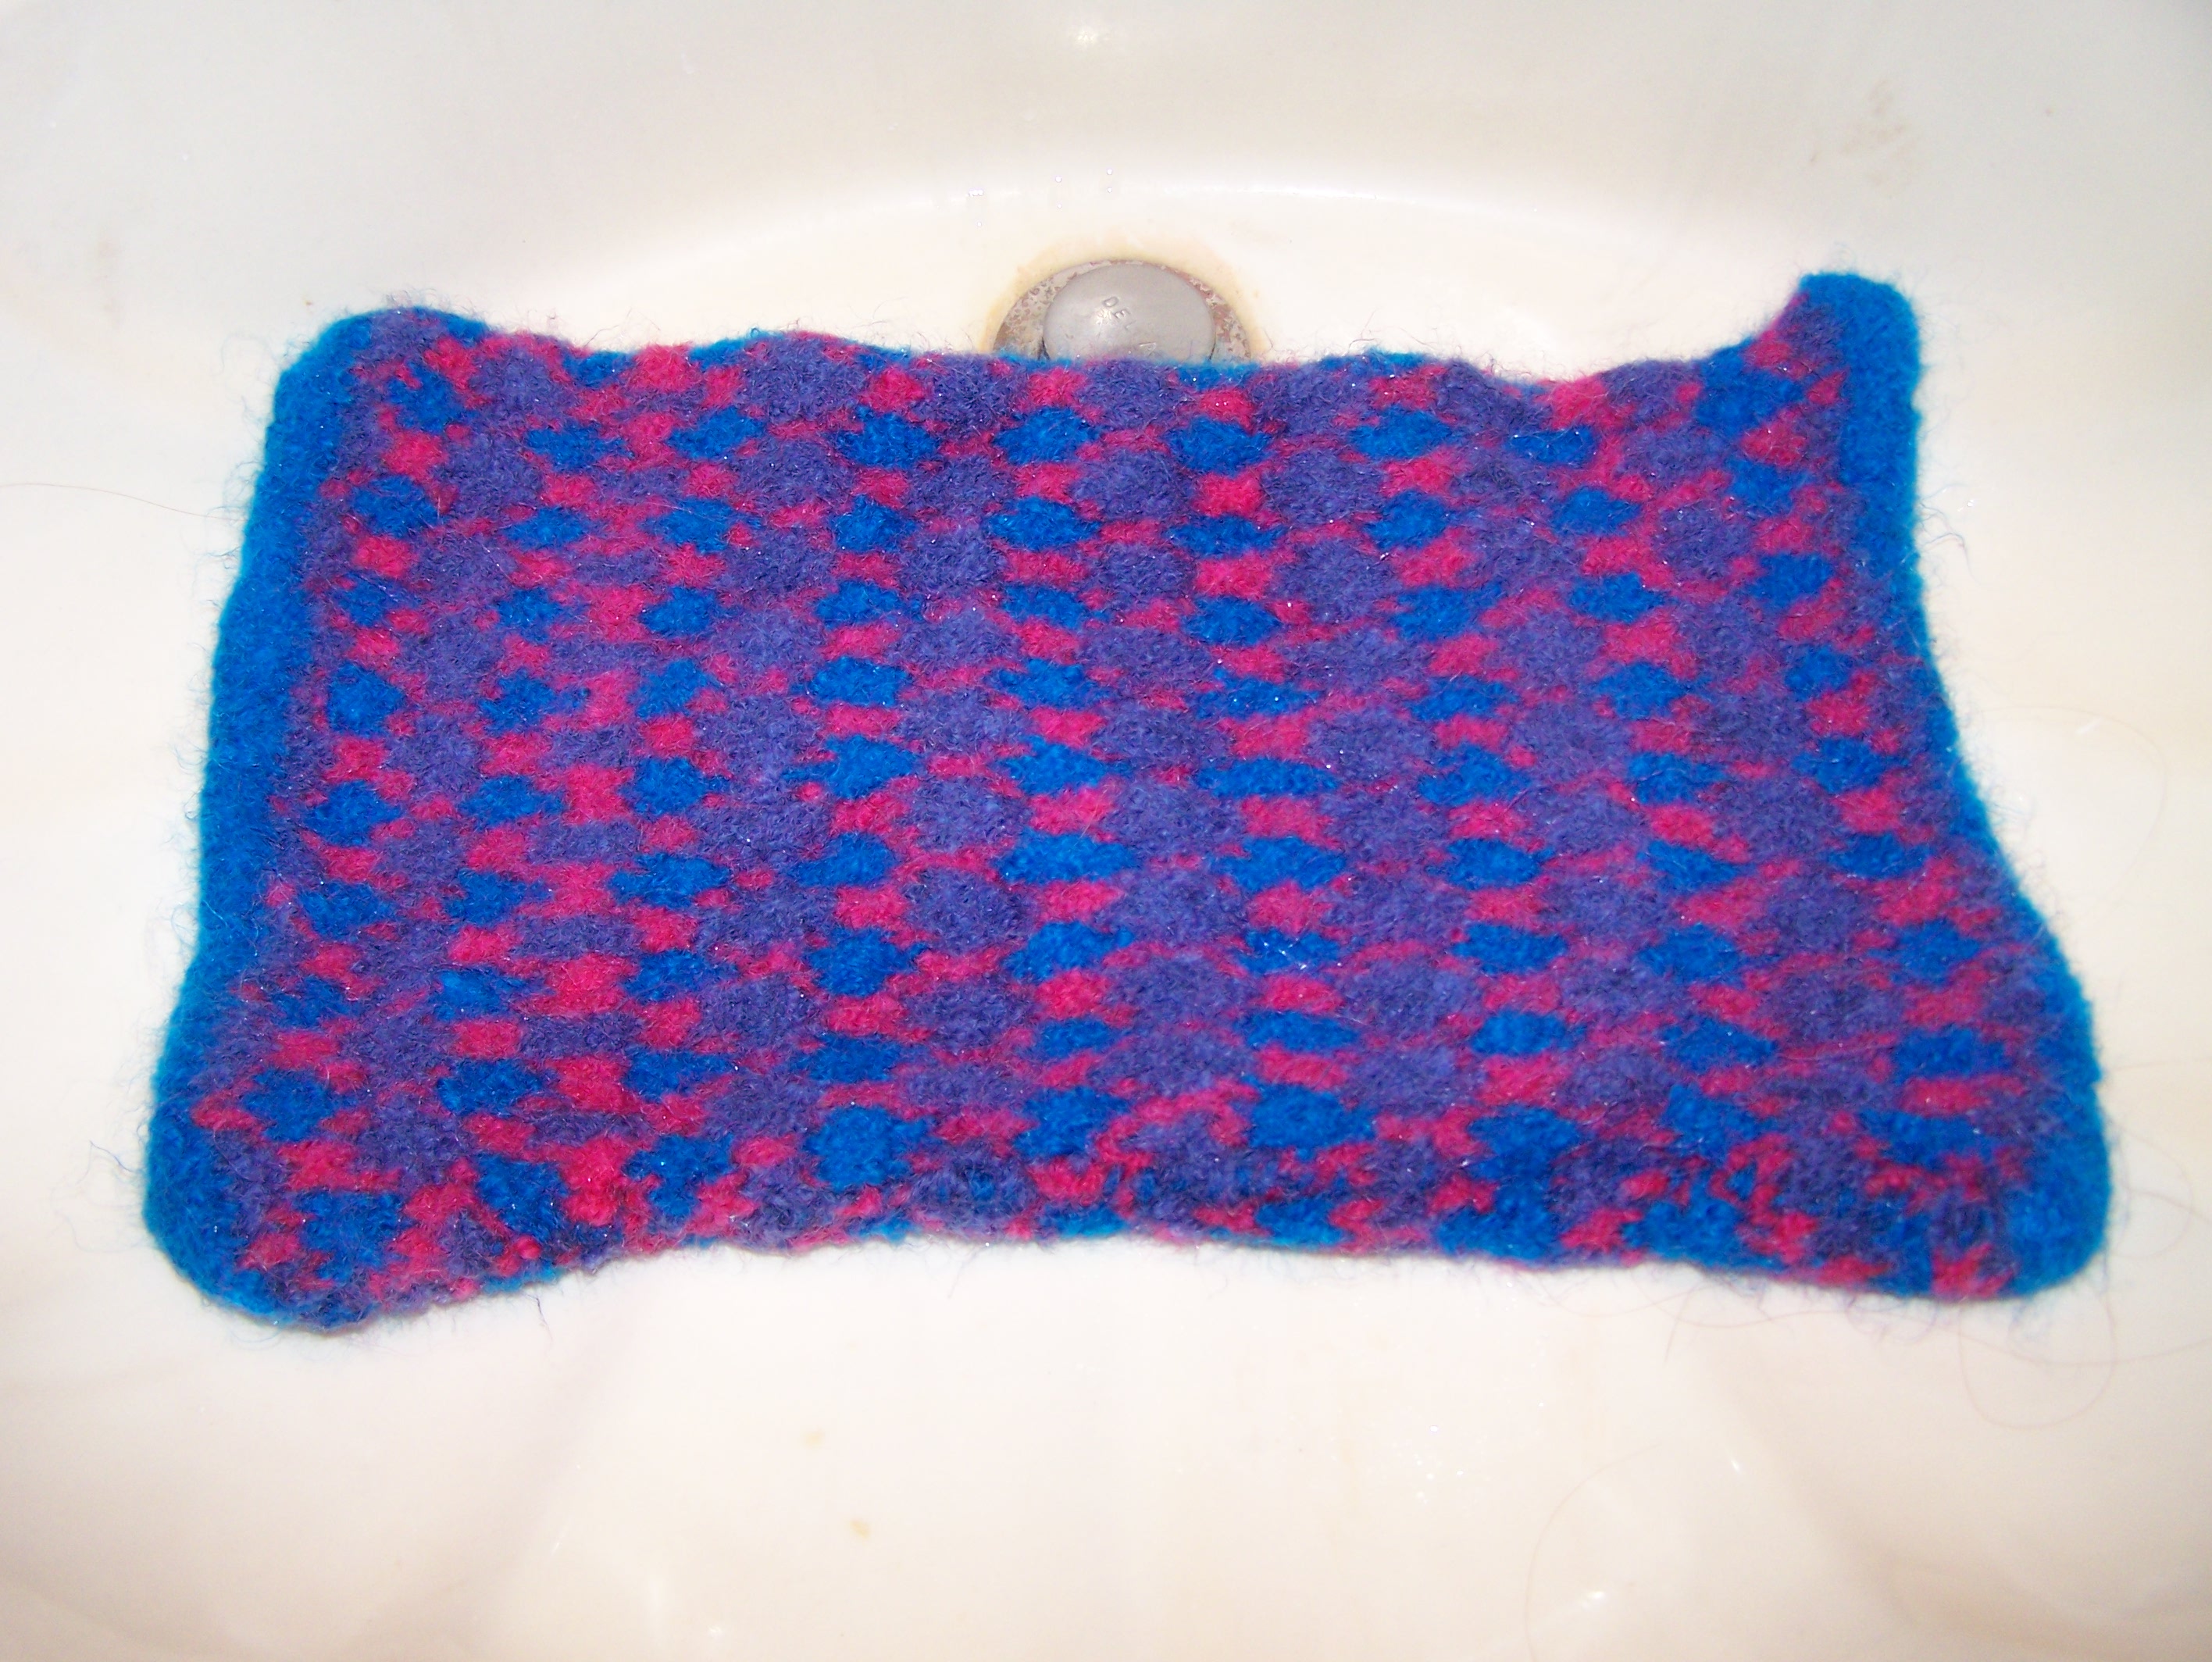
For the heating pad above, choose three colors of 100% wool yarn.  I used Galway from Gabriella’s knit shop.  Gauge does not really matter because of the shrinkage, but the gauge in this case was 5 stitches x 4 rows = 1 inch with size 7 needles. 

Cast on 50 stitches.

With colors A,B,C

Row 1:  K2A, K1B, K2A, continue to end

Row 2: P1A, P1B, P1C, P1A, continue to end

Row 3: K1A, K3C, K1A, continue to end

Row 4: P1A, P3C, P1A, continue to end

Row 5: K1A, K1B, K1C, K1A, continue to end

Row 6: P2A, P1B, P2A, continue to end

Work these six rows until it measures about 14×9 inches.

Work another panel as you did above.

Sew these two with right sides together leaving a small section 2-3 inch section open.

Turn so that right side is facing out.

Throw it in a pillowcase rubberbanded closed or zippered shut.  Place in washer machine to felt.  To felt, put washer machine on lowest water setting with highest heat setting and use a pair of jeans or tennis balls to help with agitation.  Put  longest cycle and check regularly.  Finished project should be about 11×7 inches, unless otherwise desired.  If necessary, let machine cycle again- do not let it go into rinse cycle.  Take felted project out, rinse manually, and allow to completely dry.  (See my entry on felting https://knitwerks.com/2010/02/20/felting/.

Fill with buckwheat husks (better at maintaining heat), rice, or beans.  Sew up the small hole and toss in microwave.  Relax.